visualfx
Effects for a scene, one line each
visualfx is designed to bring the joy back into programming, for any age and any level: draw some shapes, then turn an effect on. A kaleidoscope, a glow, trails that spin away into a tunnel, an old television, a glitch. The graphics card does the work, so they are fast, and each is one line. It is visualfx.js for pictures.js and pyvisualfx for Pyctures, with the same names in both, and the effects can move to the music of synths.
Free and open source, MIT licence. Made for projects in Circuitry Studio; runs anywhere a browser does.
Draw, then turn one on
Every effect is a function, and calling it turns it on. There is nothing to call in draw: an effect that is on is applied to every frame, after your drawing. The first number is the thing you most often want to change, and it has a sensible value if you leave it out.
function draw() {
  background("black")
  circle(mouse.x, mouse.y, 40, "gold")
}

glow(1)                 // bright things shine
trails(1.5) // and leave a trail that takes a second and a half to fadefrom pyctures import *
from pyvisualfx import *
glow(1) # bright things shine
trails(1.5) # and leave a trail that takes a second and a half to fade
def draw():
background("black")
circle(mouse.x, mouse.y, 40, "gold")That is a whole scene. Getting started goes on from here.
Settings are plain numbers
An effect's settings are plain properties: read them, set them, add to them, every frame if you like. Lengths are in the same points as the rest of your scene and angles are in degrees, so a scene looks the same on a phone and on a big screen.
const pattern = kaleidoscope(8, { zoom: 1.5 })

function update(dt) {
  pattern.angle += 20 * dt        // turn it, twenty degrees a second
  pattern.x = mouse.x             // its middle follows the mouse
  pattern.y = mouse.y
}pattern = kaleidoscope(8, zoom=1.5)
def update(dt):
pattern.angle += 20 * dt # turn it, twenty degrees a second
pattern.x = mouse.x # its middle follows the mouse
pattern.y = mouse.yEffects are applied in the order you turn them on: fold the picture, then let the folded picture leave trails, then make all of it glow. Or take a ready-made look, which is several at once.
kaleidoscope(6)
trails(0.7, { zoom: 1.5, spin: 25, hue: 90 })
glow(0.7)
vignette()

look("arcade") // or a ready-made look: several effects at oncekaleidoscope(6)
trails(0.7, zoom=1.5, spin=25, hue=90)
glow(0.7)
vignette()
look("arcade") # or a ready-made look: several effects at onceWhole scenes
Each of these is a whole program, with the picture it makes. They are the library's own demos.
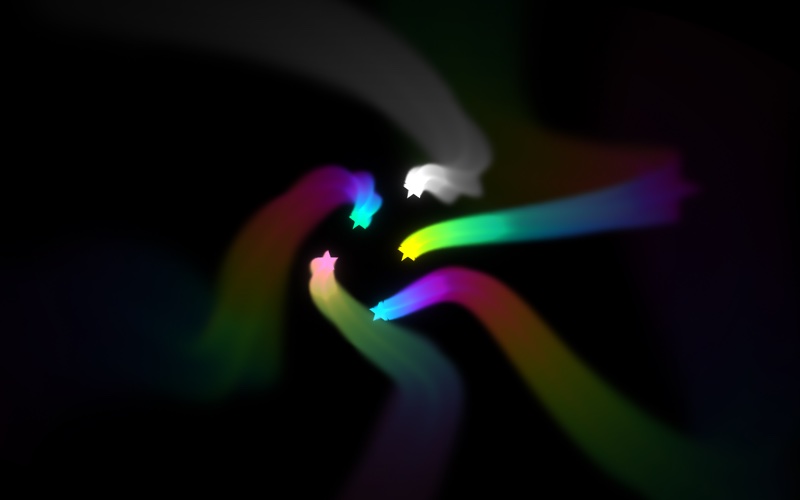
// Tunnel: five small stars circle the middle. Trails keep every frame and push it outwards, a little bigger,
// a little turned and a little changed in colour, so five stars become a tunnel you fall through for ever.
// Use: move the mouse or a finger to steer the tunnel. Hold it down to turn the other way.
// Try changing: 2.5, how long a trail lasts; 1.9, how fast it grows; 50, how fast it turns; 140, how fast the colour moves.

const tail = trails(2.5, { zoom: 1.9, spin: 50, hue: 140 })
glow(0.5, { radius: 30 })
vignette(0.5)

let t = 0

function update(dt) {
  t += dt
  tail.spin = mouse.down ? -50 : 50
  tail.x = mouse.inside ? mouse.x : width / 2 + 60 * Math.sin(t * 0.7)
  tail.y = mouse.inside ? mouse.y : height / 2 + 40 * Math.cos(t * 0.9)
}

function draw() {
  background("black")
  const colours = ["gold", "deepskyblue", "hotpink", "springgreen", "white"]
  for (let i = 0; i < 5; i++) {
    const a = t * 1.3 + i * 1.2566
    const r = 50 + 22 * Math.sin(t * 2.3 + i * 2)
    star(tail.x + r * Math.cos(a), tail.y + r * Math.sin(a), 11, 5, colours[i])
  }
}
# Tunnel: five small stars circle the middle. Trails keep every frame and push it outwards, a little bigger,
# a little turned and a little changed in colour, so five stars become a tunnel you fall through for ever.
# Use: move the mouse or a finger to steer the tunnel. Hold it down to turn the other way.
# Try changing: 2.5, how long a trail lasts; 1.9, how fast it grows; 50, how fast it turns; 140, how fast the colour moves.
import math
from pyctures import *
from pyvisualfx import *

tail = trails(2.5, zoom=1.9, spin=50, hue=140)
glow(0.5, radius=30)
vignette(0.5)

t = 0
colours = ["gold", "deepskyblue", "hotpink", "springgreen", "white"]

def update(dt):
    global t
    t += dt
    tail.spin = -50 if mouse.down else 50
    tail.x = mouse.x if mouse.inside else width / 2 + 60 * math.sin(t * 0.7)
    tail.y = mouse.y if mouse.inside else height / 2 + 40 * math.cos(t * 0.9)

def draw():
    background("black")
    for i in range(5):
        a = t * 1.3 + i * 1.2566
        r = 50 + 22 * math.sin(t * 2.3 + i * 2)
        star(tail.x + r * math.cos(a), tail.y + r * math.sin(a), 11, 5, colours[i])
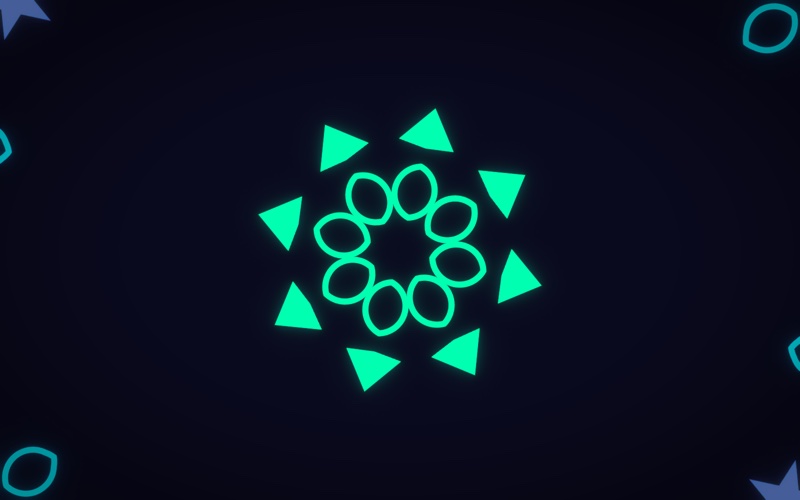
// Kaleidoscope: sixty shapes drift about, and a kaleidoscope folds them into a pattern that never repeats.
// Use: move the mouse or a finger to move the middle of the pattern. Tap to change how many segments it has.
// Try changing: 60, the shapes; 8, the segments; 12, how fast the pattern turns; take the glow away.

const colours = ["gold", "deepskyblue", "tomato", "springgreen", "orchid", "white", "darkorange", "royalblue"]
const shapes = []
for (let i = 0; i < 60; i++) {
  shapes.push({ x: random(0, 800), y: random(0, 500), vx: random(-70, 70), vy: random(-70, 70), size: random(14, 46), colour: pick(colours), sides: random(3, 6), turn: random(0, 360) })
}

const pattern = kaleidoscope(8)
glow(0.45, { threshold: 0.6 })
vignette(0.4)

function update(dt) {
  for (const s of shapes) {
    s.x += s.vx * dt
    s.y += s.vy * dt
    if (s.x < 0 || s.x > width) s.vx = -s.vx
    if (s.y < 0 || s.y > height) s.vy = -s.vy
  }
  pattern.angle += 12 * dt
  if (mouse.inside) {
    pattern.x = mouse.x
    pattern.y = mouse.y
  }
}

function draw() {
  background("#0a0a1e")
  for (const s of shapes) {
    if (s.sides === 6) star(s.x, s.y, s.size, 5, s.colour)
    else if (s.sides === 5) circle(s.x, s.y, s.size * 0.7, { outline: s.colour, thickness: 6 })
    else polygon(s.x, s.y, s.size, s.sides, s.colour)
  }
}

function onMouseDown() {
  pattern.segments = pattern.segments >= 16 ? 4 : pattern.segments + 2
}
# Kaleidoscope: sixty shapes drift about, and a kaleidoscope folds them into a pattern that never repeats.
# Use: move the mouse or a finger to move the middle of the pattern. Tap to change how many segments it has.
# Try changing: 60, the shapes; 8, the segments; 12, how fast the pattern turns; take the glow away.
from pyctures import *
from pyvisualfx import *

colours = ["gold", "deepskyblue", "tomato", "springgreen", "orchid", "white", "darkorange", "royalblue"]
shapes = []
for i in range(60):
    shapes.append({"x": random(0, 800), "y": random(0, 500), "vx": random(-70, 70), "vy": random(-70, 70),
                   "size": random(14, 46), "colour": pick(colours), "sides": random(3, 6)})

pattern = kaleidoscope(8)
glow(0.45, threshold=0.6)
vignette(0.4)

def update(dt):
    for s in shapes:
        s["x"] += s["vx"] * dt
        s["y"] += s["vy"] * dt
        if s["x"] < 0 or s["x"] > width:
            s["vx"] = -s["vx"]
        if s["y"] < 0 or s["y"] > height:
            s["vy"] = -s["vy"]
    pattern.angle += 12 * dt
    if mouse.inside:
        pattern.x = mouse.x
        pattern.y = mouse.y

def draw():
    background("#0a0a1e")
    for s in shapes:
        if s["sides"] == 6:
            star(s["x"], s["y"], s["size"], 5, s["colour"])
        elif s["sides"] == 5:
            circle(s["x"], s["y"], s["size"] * 0.7, outline=s["colour"], thickness=6)
        else:
            polygon(s["x"], s["y"], s["size"], s["sides"], s["colour"])

def on_mouse_down(x, y, button):
    pattern.segments = 4 if pattern.segments >= 16 else pattern.segments + 2
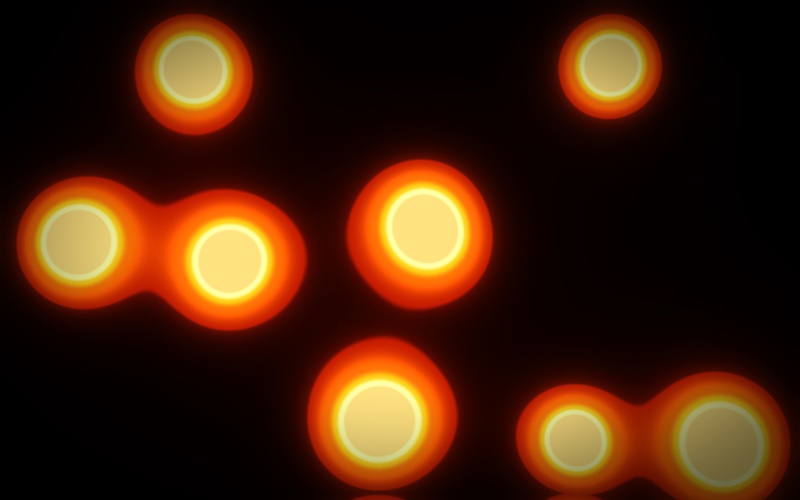
// Lava Lamp: nothing is drawn here at all. metaballs() is a backdrop the graphics card makes by itself:
// blobs that melt into each other. The glow and the wobble are two more lines.
// Use: move the mouse or a finger up and down to warm the lamp: the blobs move faster. Tap for other colours.
// Try changing: "lava" to "neon", "ocean" or "candy"; 8, how many blobs; 1.3, their size; or try plasma() or flow() instead.

const palettes = ["lava", "neon", "ocean", "candy", "sunset"]
let which = 0

const lamp = metaballs("lava", { count: 8, size: 1.3, speed: 0.35 })
wobble(8, { scale: 200 })
glow(0.6, { threshold: 0.3, radius: 44 })
vignette(0.6)

function update(dt) {
  if (mouse.inside) lamp.speed = 0.15 + 1.2 * (1 - mouse.y / height)
}

function draw() {
  background()          // with no colour: the picture is wiped clear, so the backdrop shows
}

function onMouseDown() {
  which = (which + 1) % palettes.length
  lamp.palette = palettes[which]
}
# Lava Lamp: nothing is drawn here at all. metaballs() is a backdrop the graphics card makes by itself:
# blobs that melt into each other. The glow and the wobble are two more lines.
# Use: move the mouse or a finger up and down to warm the lamp: the blobs move faster. Tap for other colours.
# Try changing: "lava" to "neon", "ocean" or "candy"; 8, how many blobs; 1.3, their size; or try plasma() or flow() instead.
from pyctures import *
from pyvisualfx import *

palettes = ["lava", "neon", "ocean", "candy", "sunset"]
which = 0

lamp = metaballs("lava", count=8, size=1.3, speed=0.35)
wobble(8, scale=200)
glow(0.6, threshold=0.3, radius=44)
vignette(0.6)

def update(dt):
    if mouse.inside:
        lamp.speed = 0.15 + 1.2 * (1 - mouse.y / height)

def draw():
    background()          # with no colour: the picture is wiped clear, so the backdrop shows

def on_mouse_down(x, y, button):
    global which
    which = (which + 1) % len(palettes)
    lamp.palette = palettes[which]
Every effect
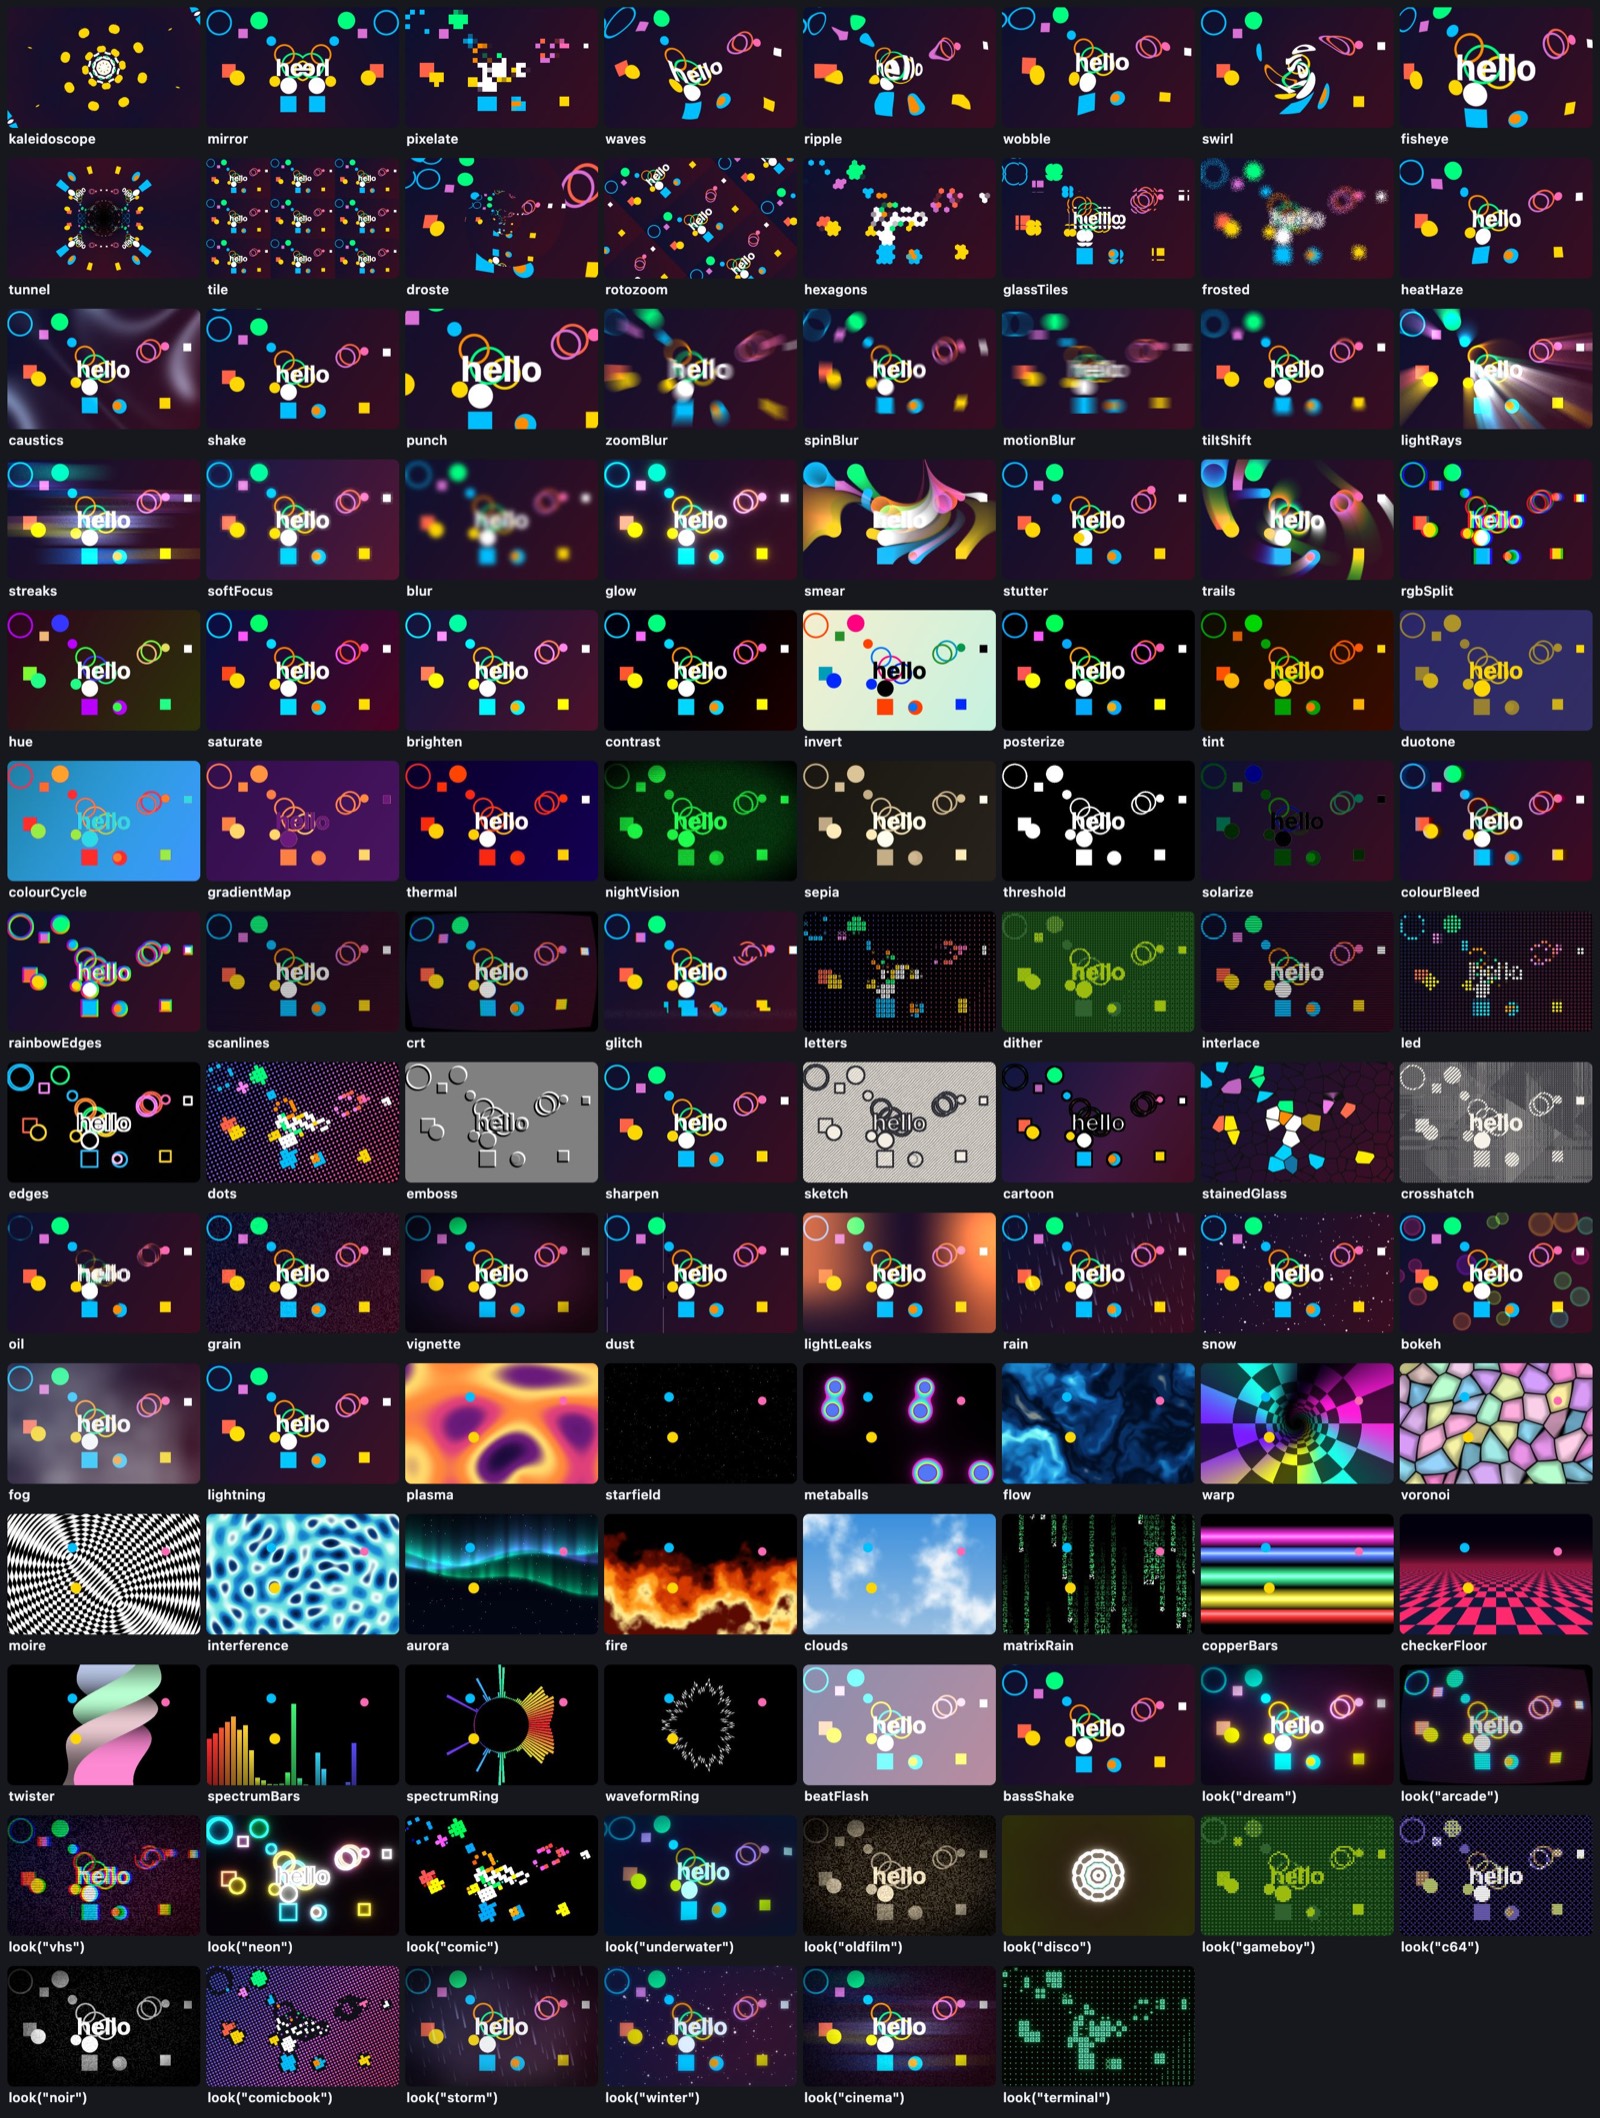
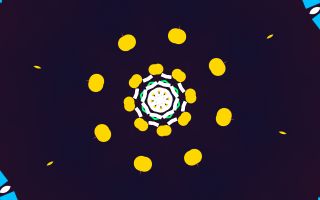
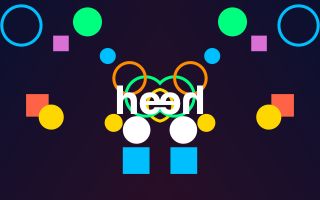
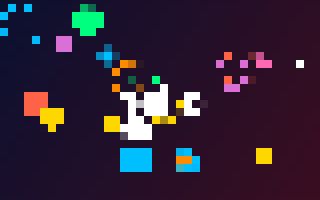
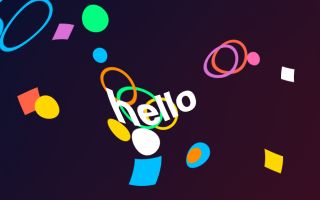
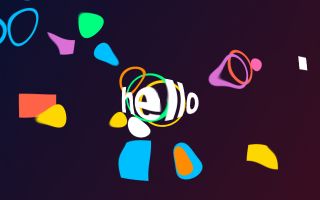
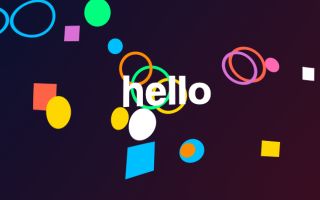
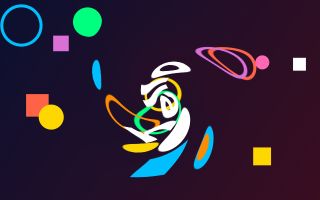
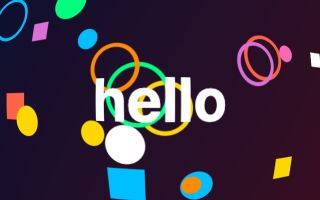
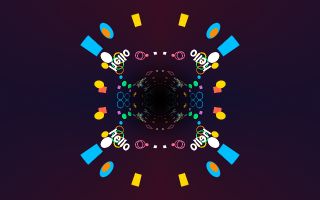
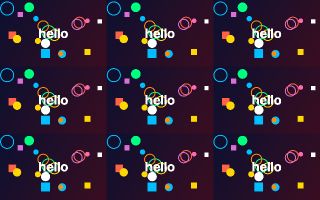
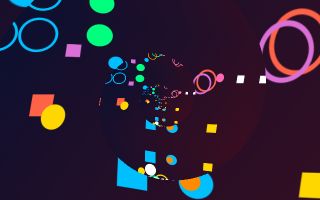
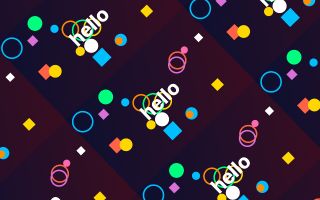
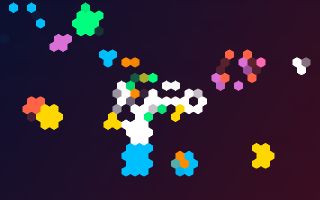
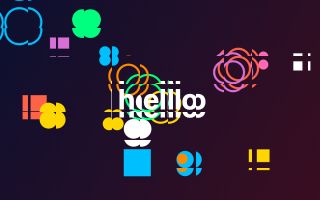
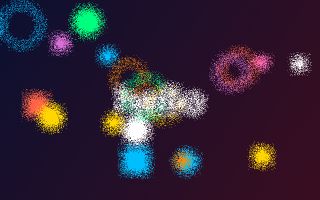
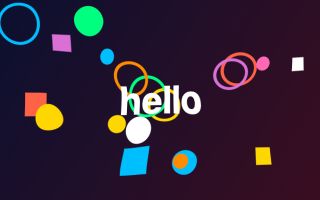
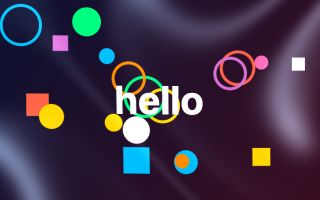
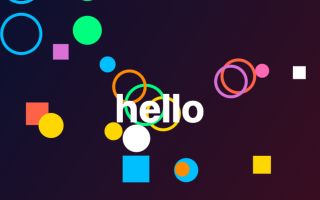
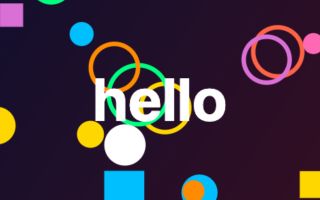
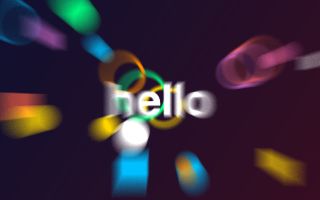
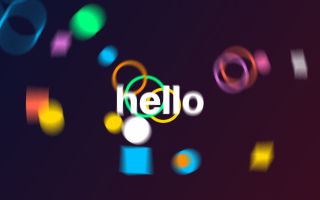
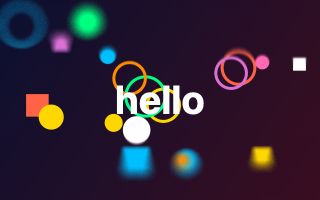
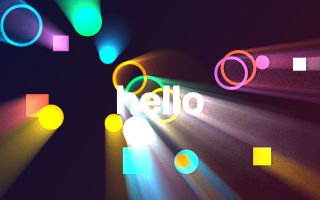
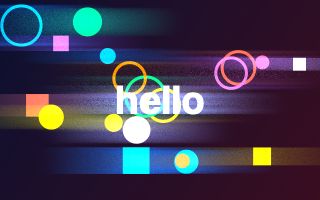
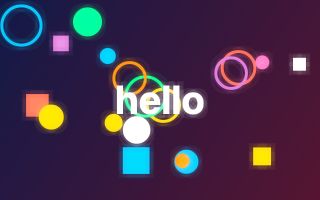
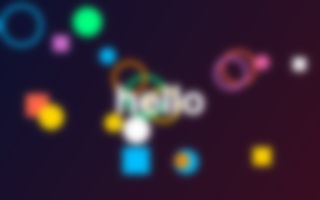
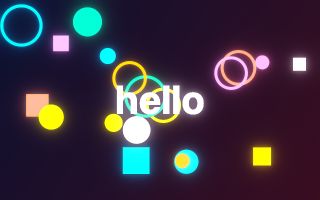
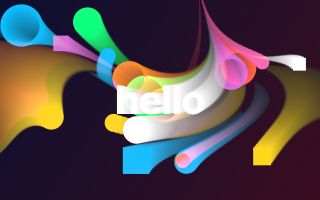
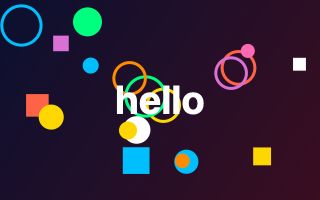
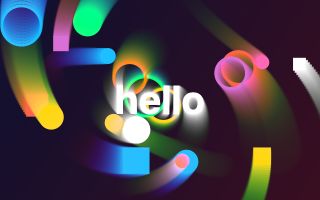
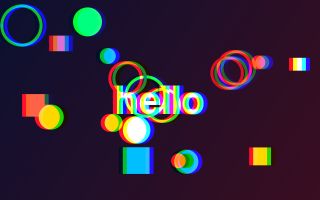
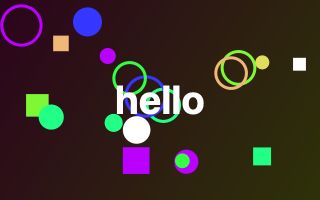
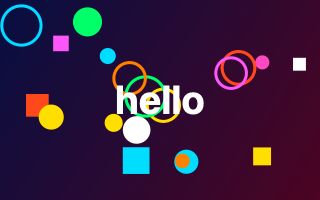
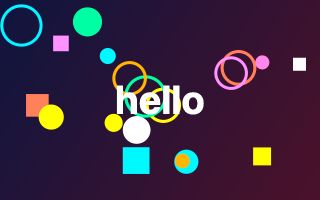
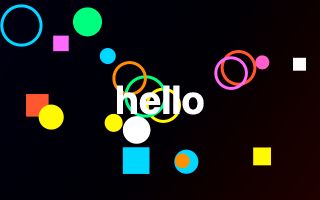
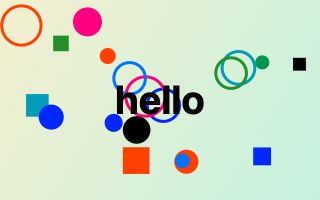
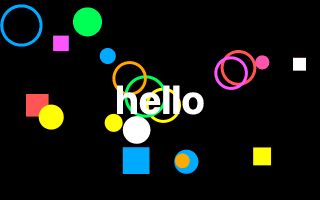
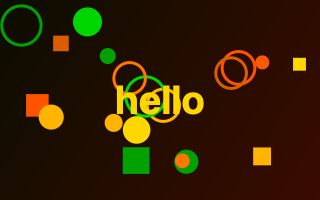
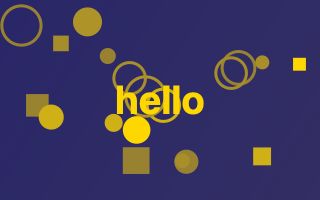
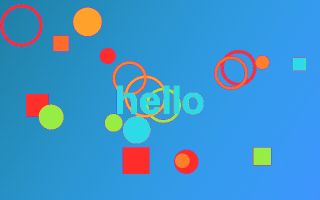
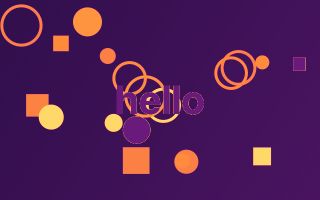
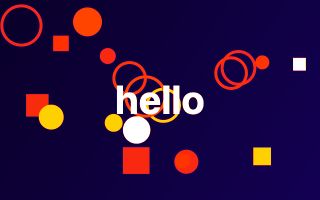
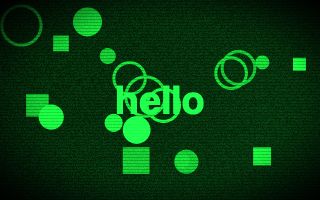
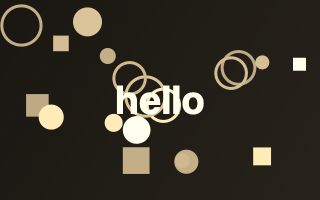
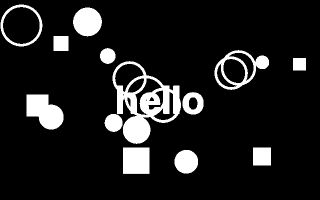
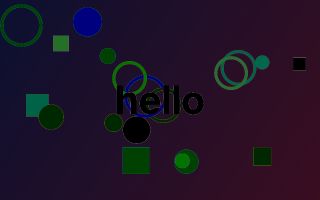
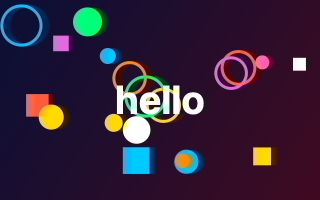
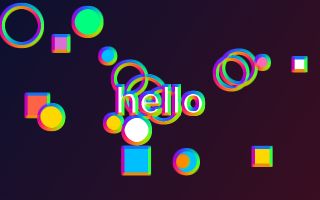
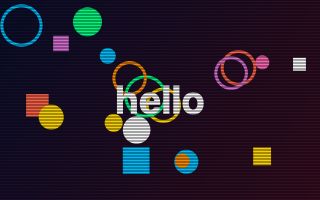
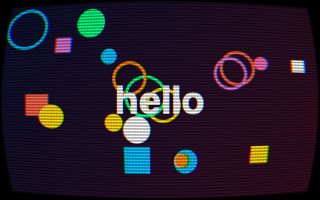
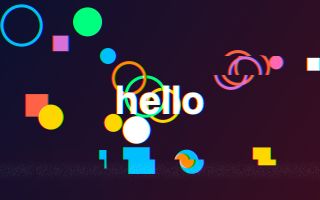
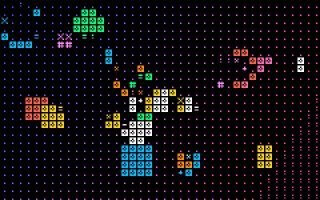
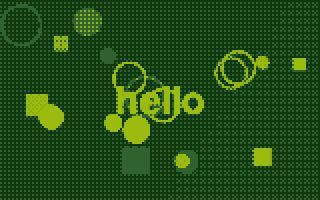
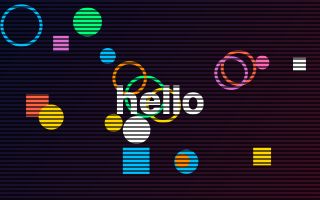
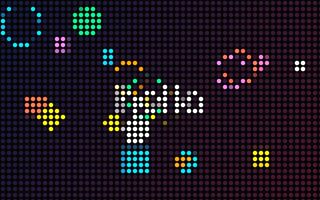
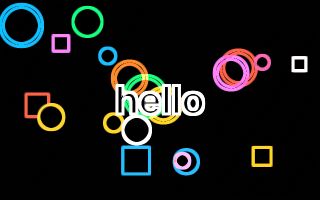
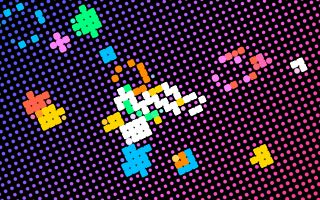
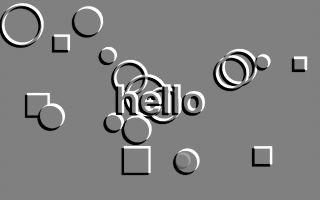
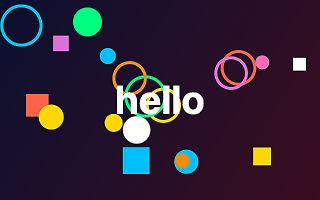
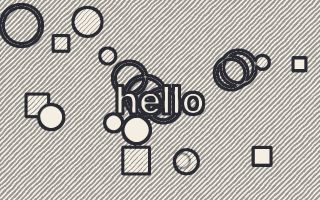
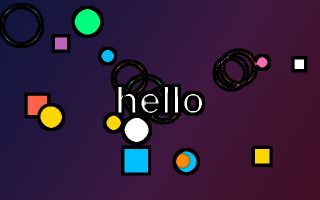
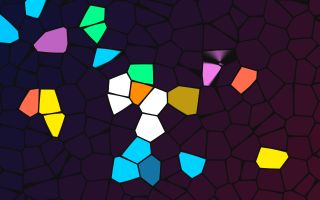
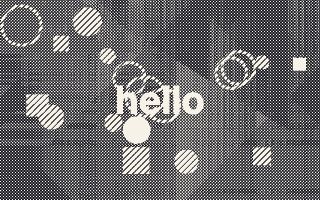
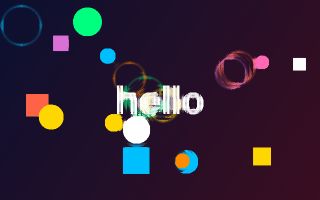
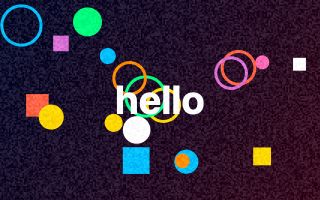
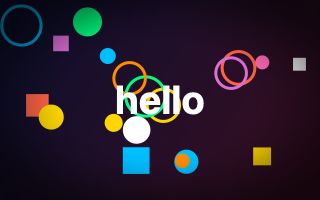
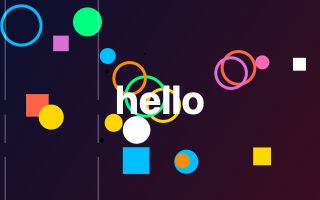
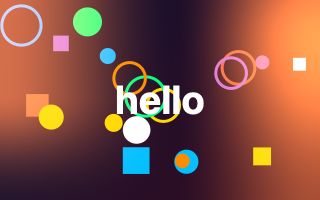
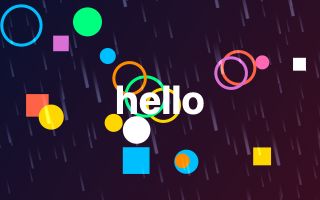
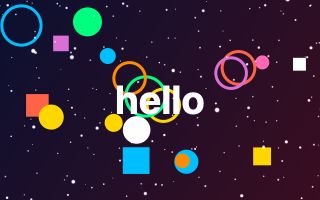
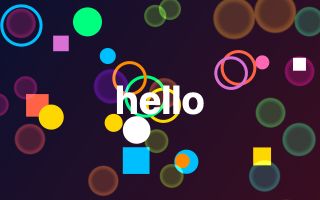
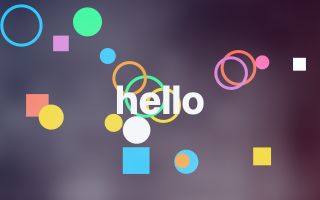
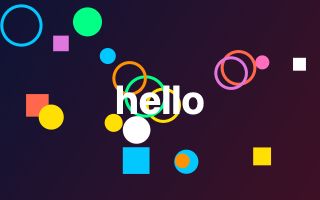
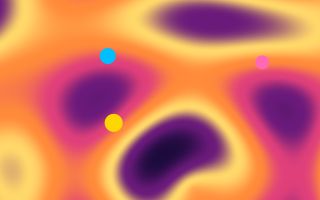
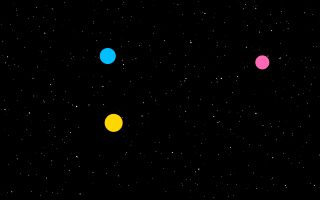
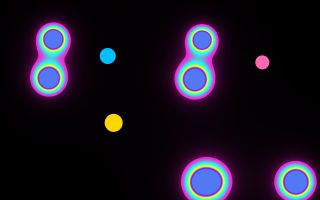
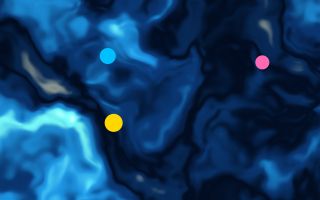
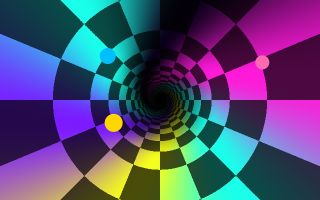
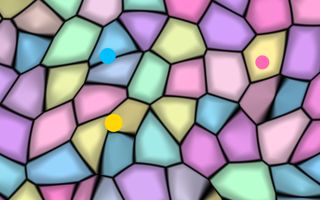
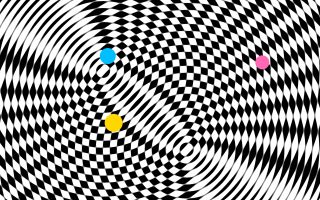
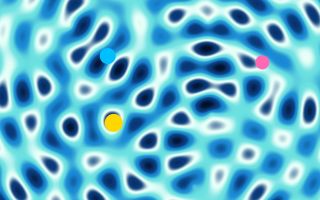
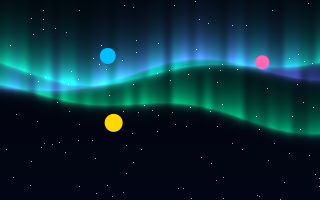
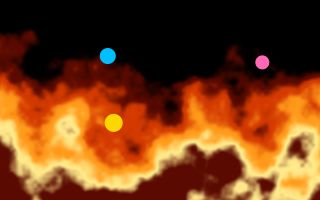
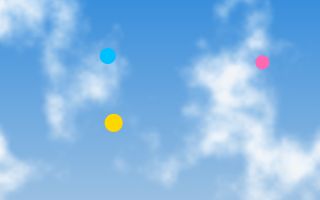
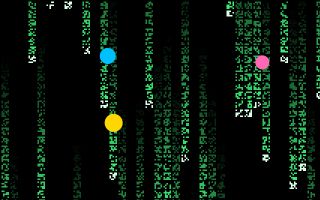
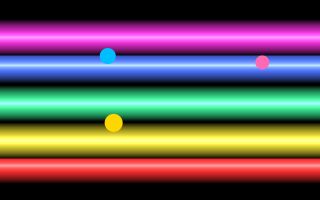
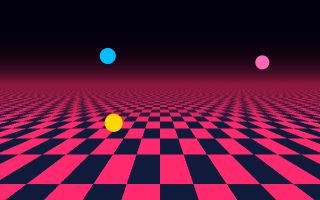
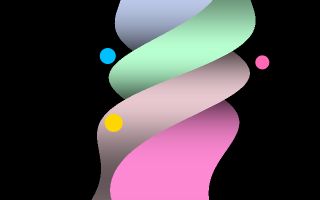
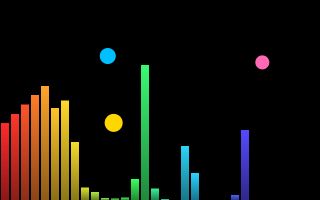
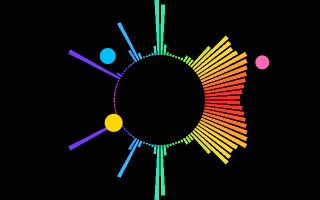
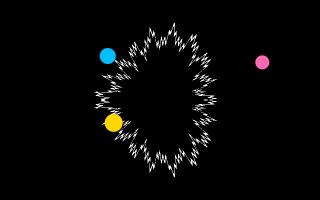
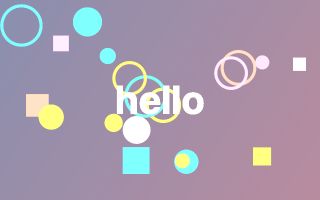
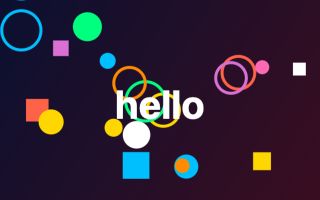
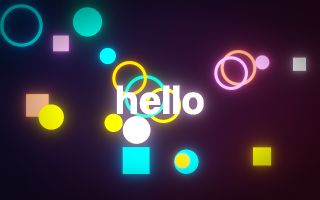
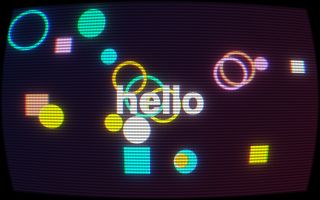
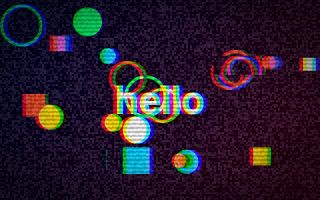
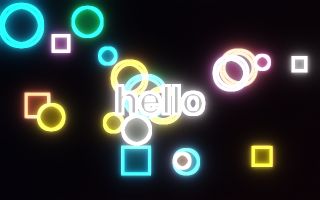
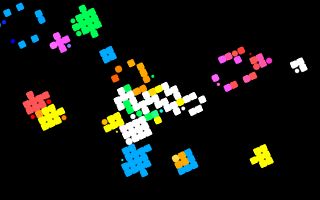
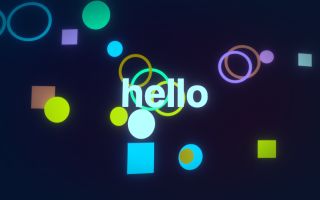
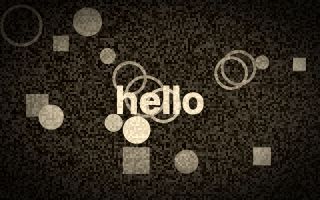
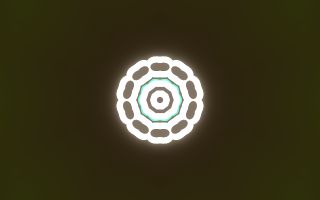
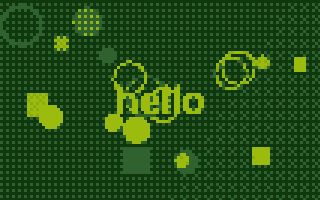
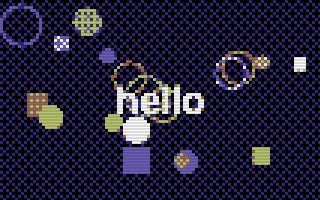
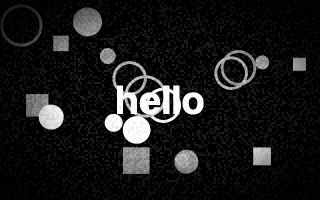
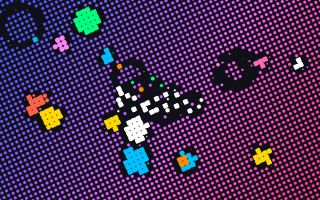
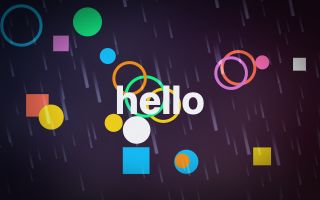
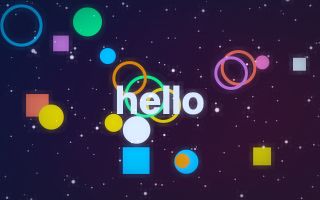
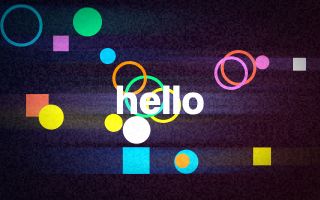
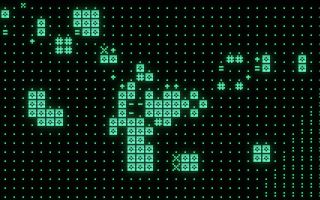
94 effects and 16 looks, each a picture of the effect itself on the same small moving scene. Choose one for its settings. Every effect lists them with what each is.
Moving to the music
With synths in the scene, the effects can follow the sound. bass, mids, highs, loudness and pulse are numbers from 0 to 1 that follow the music, and react ties a setting of an effect to one of them.
playNotes("C2 - C2 C2 - C2 G1 -", 0.25, { repeat: true })

const shine = glow(0.5)
react(shine, "strength", "bass", { from: 0.4, to: 1.5 })     // the glow follows the bass

function draw() {
  background("black")
  circle(width / 2, height / 2, 20 + 60 * bass(), "tomato")
}from pyctures import *
from synths import *
from pyvisualfx import *
play_notes("C2 - C2 C2 - C2 G1 -", 0.25, repeat=True)
shine = glow(0.5)
listen_to(sound_output())
react(shine, "strength", "bass", 0.4, 1.5) # the glow follows the bass
def draw():
background("black")
circle(width / 2, height / 2, 20 + 60 * bass(), "tomato")Five effects draw the sound itself, as bars, rings and flashes. Moving to the music.
A shader of your own
If you know the language graphics cards speak, an effect is one function: the colour at one place of the picture. The settings you give are numbers the program can use by name, and it is an effect like any other.
const wave = shader(`
  vec4 effect(vec2 uv) {
    uv.x += 0.02 * sin(uv.y * 40.0 + time * speed);
    return texture(picture, uv);
  }`, { speed: 3 })

wave.speed = 6wave = shader("""
vec4 effect(vec2 uv) {
uv.x += 0.02 * sin(uv.y * 40.0 + time * speed);
return texture(picture, uv);
}""", speed=3)
wave.speed = 6A shader of your own lists what the program is given.
Made to be recorded
Every effect is worked out from the picture, its own last frame, its settings and the scene's clock, never from the time of day. So a scene stepped one frame at a time gives exactly the pictures it should, and a film at 30 frames a second matches one at 60. On a page of your own, visualfx.js makes the film itself.
const film = await recordVideo({ seconds: 5, fps: 60 })     // a WebM, every frame exactly 1/60 apart
saveVideo(film, "my-scene.webm")How to get it
In Circuitry Studio there is nothing to install. A JavaScript scene has the effects ready beside the drawing names, with nothing to import. A Python scene starts with from pyctures import * and from pyvisualfx import *. Both run in the preview beside your code.
Outside Circuitry it runs from a copy of its repository. pyvisualfx works with Pyctures as it is: pyctures run scene.py. visualfx.js is one file that works with any page that has a canvas:
<canvas id="c" width="800" height="500"></canvas>
<script type="module">
  import { effects } from "./visualfx.js"
  const c = document.getElementById("c"), g = c.getContext("2d")
  const { glow, trails } = effects(c)
  glow(1); trails(1)
  requestAnimationFrame(function tick(t) {
    requestAnimationFrame(tick)
    g.fillStyle = "black"; g.fillRect(0, 0, 800, 500)
    g.fillStyle = "gold"; g.fillRect(400 + 300 * Math.sin(t / 500), 230, 40, 40)
  })
</script>
Neither is published yet, to npm or to PyPI. Getting started says how each is used.